
Designing Custom Jewelry With an OEM Partner From Sketch to Sample
October 15, 2026
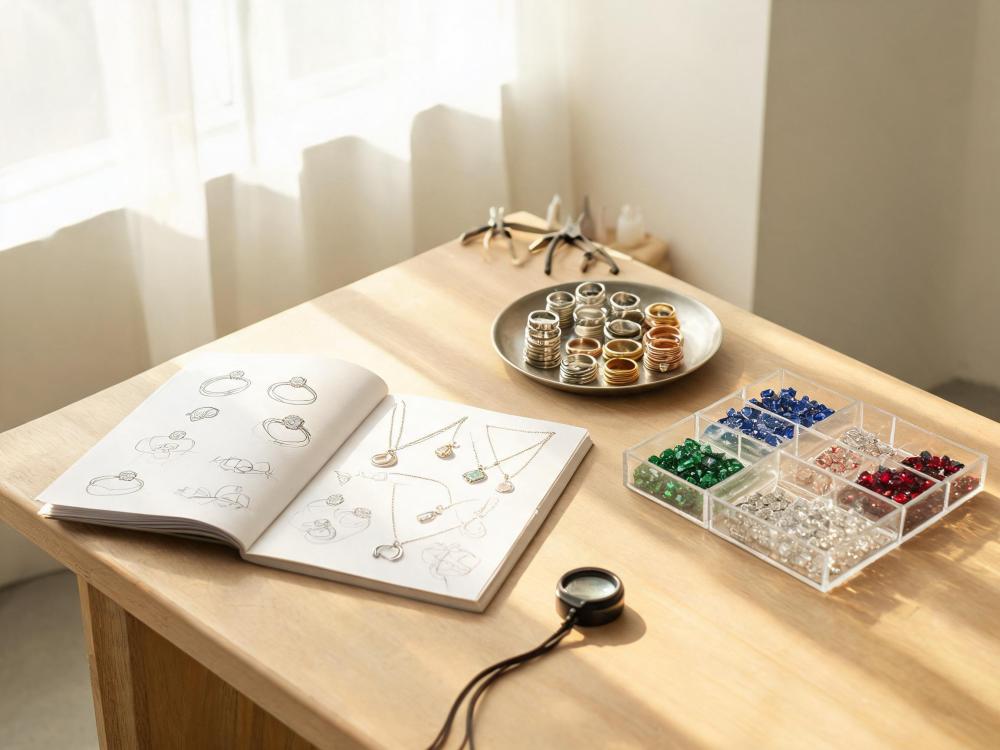
Custom jewelry collections start with a single idea, but turning that idea into a production-ready piece requires structured collaboration with an OEM partner, not just a one-off request. Many boutique buyers underestimate how much early alignment prevents costly reworks later, from material choices to structural details. This guide breaks the end-to-end process into clear steps, so you know what to prepare, what to expect, and how to keep your project on track from first sketch to final approved sample.
Step 1: Prepare Your Design Package Before You Reach Out
OEM partners work most efficiently when they receive a complete design brief upfront, rather than vague descriptions or partial references. A strong package eliminates guesswork and reduces the number of back-and-forth questions before work even begins.
- Hand sketches or digital renderings with front, side, and back views, plus clear callouts for unique details like engravings or movable parts
- Reference photos of similar pieces to show desired finish, proportion, or overall vibe — note exactly which elements you want to replicate and which to change
- Target material specifications, including base metal type, plating color, stone type and size, and any chain or finding preferences
- Intended wear context, such as daily wear vs. occasional statement pieces, which impacts structural durability requirements
- Size ranges for rings, bracelets, or necklaces, plus any fit-specific notes for ergonomic wear
If you only have a rough concept, that is still workable, but expect an initial design consultation phase where your OEM partner will help flesh out technical details. The more specific you are at this stage, the faster your project moves to sampling.

Step 2: Design Review and Technical Translation
Once your OEM partner receives your brief, their in-house design or engineering team will review it for manufacturability. This is not a creative critique — it is a practical check to confirm your design can be produced consistently, durably, and within expected cost parameters.
Common adjustments proposed during this phase include modifying stone settings to prevent snagging, thickening thin metal sections to avoid bending during wear, or adjusting plating compatibility for certain base metals. Your partner will also flag details that would drive unnecessary cost, such as overly complex hand engraving that could be replicated with precision stamping for a similar visual effect.
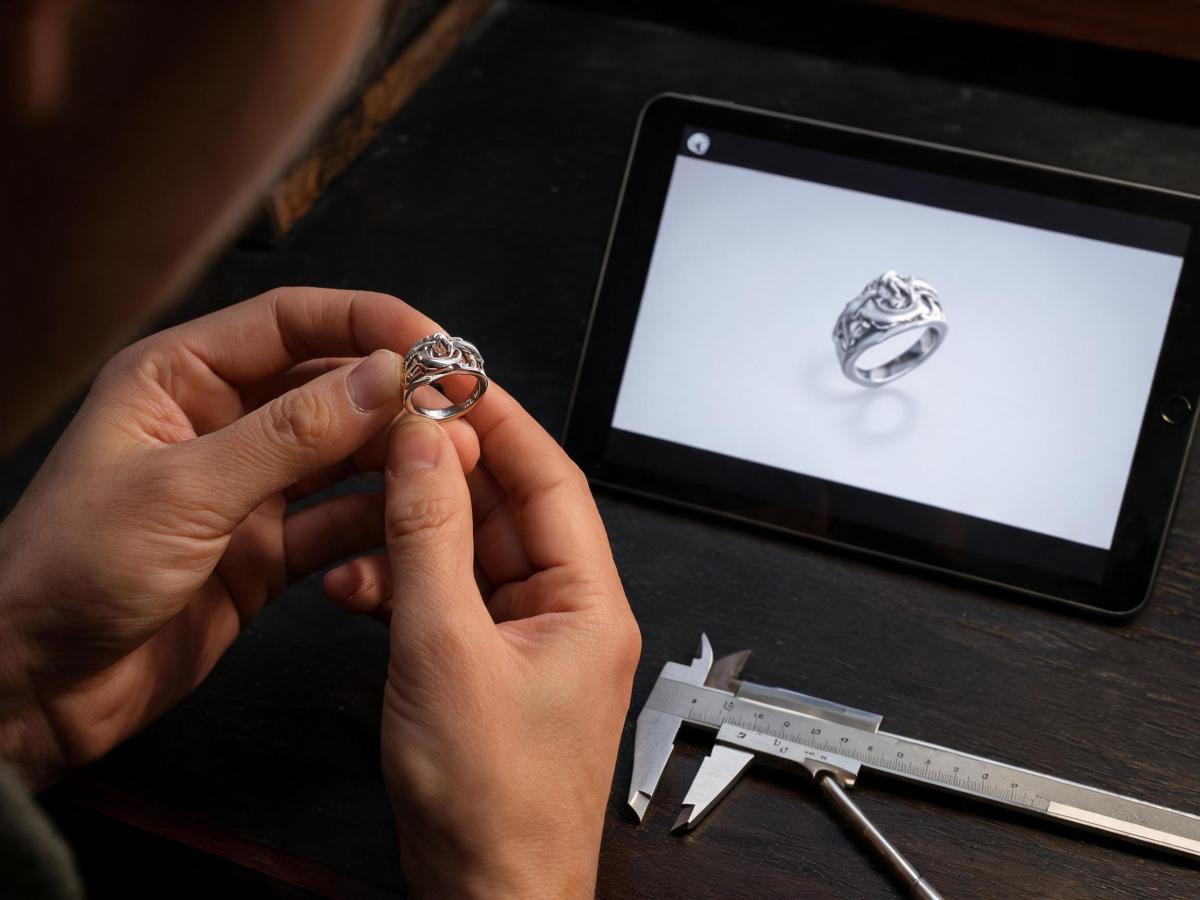
For 3D-designed pieces, you will typically receive a digital CAD (computer-aided design) file for review before any physical work begins. Review this file carefully against your original brief: check proportions, stone placement, surface texture, and functional parts like clasps or hinge mechanisms. Even small dimensional differences can change the feel of a finished piece, so do not rely on visual approval alone — cross-reference stated measurements with a physical ruler or caliper if needed.
Step 3: Material and Plating Alignment
Before a sample is cast, you will lock in all material and finish specifications, as these choices directly impact the sample’s accuracy and final production quality. Swapping materials after a sample is made often requires restarting the prototype process entirely, so it is worth taking the time to get this right.
Base metal options range from budget-friendly alloys to premium precious metals, each with different durability, weight, and plating compatibility. Your OEM partner can provide physical metal swatches so you can compare tone and weight in hand, rather than relying on screen colors which vary by device.
For plated pieces, confirm both plating type and thickness, as these affect wear resistance and price point. If you have specific performance requirements — such as resistance to everyday skin oils or tarnish — share those upfront so your partner can recommend appropriate plating layers or sealants.
Stone selection also gets finalized here. You will choose between natural, lab-grown, or simulated stones, plus cut, clarity grade, and setting style. Ask for stone sample cards if you are deciding between multiple options, as color and sparkle can look very different in natural light versus digital photos.
Step 4: Sample Production and Iteration
Once the design and materials are locked, your OEM partner will produce a physical sample. The first sample is rarely perfect, and that is expected — this stage exists to catch issues before full production runs begin.
When you receive your sample, evaluate it systematically rather than reacting to first impressions. Check dimensions against your original brief, test functional parts like clasps and earring posts, hold it up to different light sources to check stone color, and wear it for a short period if possible to assess comfort and weight.
Share feedback in clear, specific terms, not subjective comments. Instead of saying “it feels off,” note “the band is 0.5mm thicker than specified, making it too tight on size 7 fingers.” Attach photos with marked callouts so the design team can see exactly what needs adjustment.
Most custom projects require one to three rounds of sample revisions before final approval. Common revisions include adjusting stone size, refining polishing texture, modifying clasp tension, or tweaking plating tone. Once you approve the final sample, it becomes the production reference standard for every unit in your full order.
Setting Your Project Up for Success
Smooth custom OEM projects share a few key habits. First, share all requirements upfront, even small ones — hidden preferences discovered late in the process cause delays and extra costs. Second, respond promptly to review requests, as your project timeline pauses while waiting for your feedback. Third, trust your partner’s manufacturability advice; they see hundreds of designs and know which details hold up in production and daily wear.
Finally, keep a physical or digital file of all approved specs, including the final sample reference, for future reorders. Consistent reference materials ensure your second production run matches the first exactly, even if months or years pass between orders.
Images are for illustration only.