
How Custom Jewelry OEM Partnerships Move From Sketch to Sample
October 26, 2026
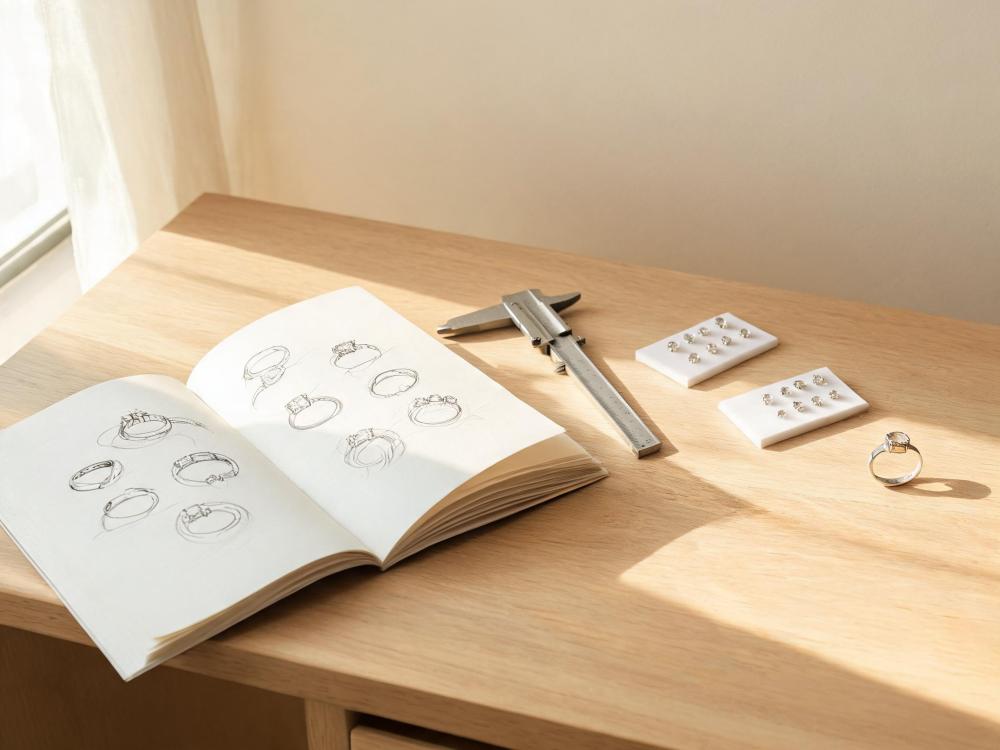
When boutique buyers and emerging jewelry brands approach an OEM partner for a custom design, many assume the process starts and ends with handing over a sketch. In practice, turning a hand-drawn concept or reference photo into a production-ready sample involves structured back-and-forth, material decisions, and technical problem-solving that most buyers do not see on the surface. Understanding each phase helps you set realistic timelines, communicate clearly, and end up with a sample that matches your vision before you commit to a full production run.
Step 1: Sketch and Concept Alignment
The first phase is not about jumping into production — it is about making sure your OEM partner understands every detail of your design intent. A loose doodle or a single reference image of a similar piece is rarely enough to move forward, because small variations in proportion, stone placement, or surface finish can change the entire look and cost of a piece.
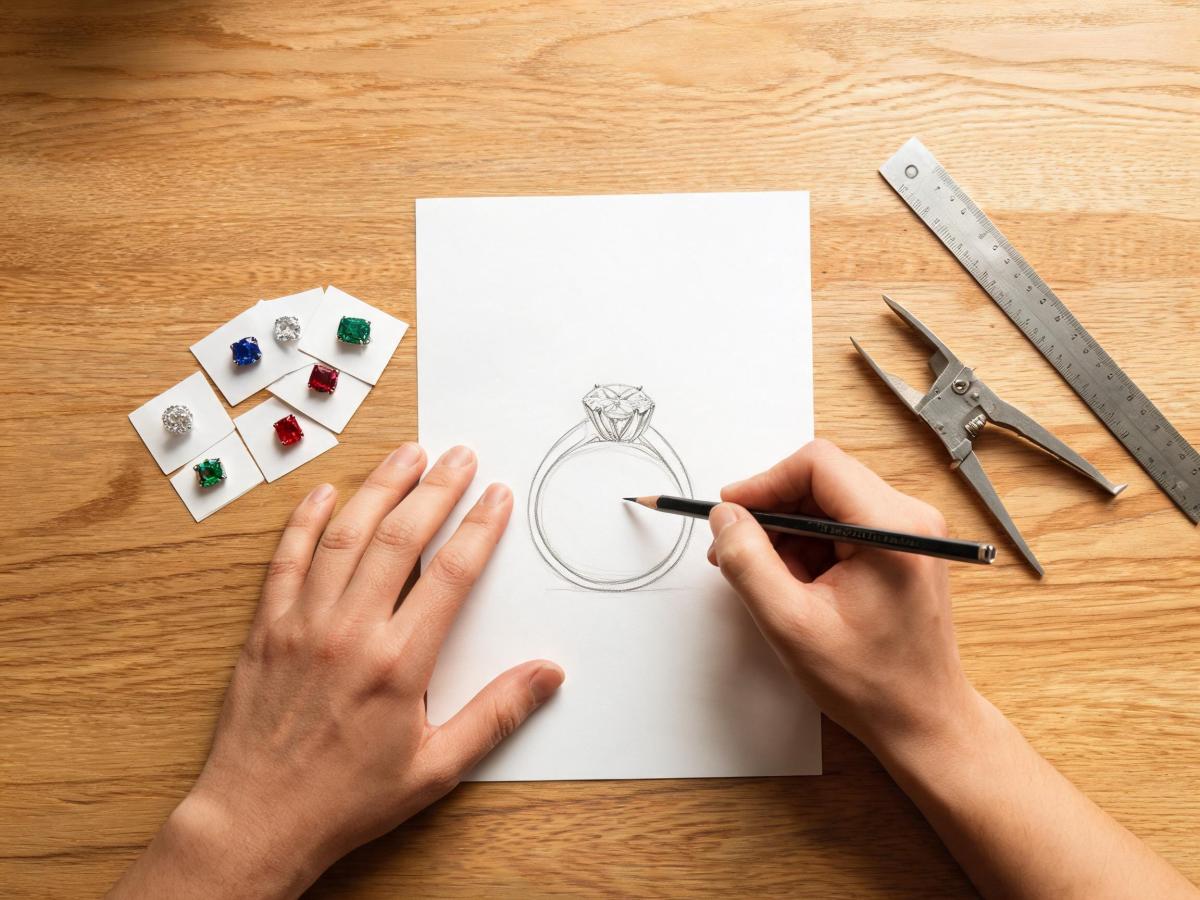
To speed up this stage, come prepared with as much specific information as you can share. This does not mean you need professional CAD skills; even handwritten notes on a sketch help.
- Exact dimensions: length of a necklace chain, width of a ring band, diameter of a pendant, or size of a stone setting
- Material preferences: base metal type, stone shape and cut, and any plating finish you have in mind
- Functional details: clasp type, earring back style, whether a ring is resizable, or if a pendant opens
- Surface details: polished, matte, brushed, textured, engraved, or enameled sections
Your OEM partner will review your concept for technical feasibility, not just aesthetics. For example, a very thin band with a large heavy stone may not wear well over time, or a deeply textured surface may not work with a particular plating finish. They will flag these issues early, suggest adjustments, and confirm whether your expected price range aligns with the design as drawn.
Step 2: Technical Development and CAD Rendering
Once the concept and basic specifications are locked in, the OEM moves to technical development. For most modern custom jewelry, this means creating a 3D CAD (computer-aided design) model that maps every dimension, curve, and setting of the piece. This model is not a pretty marketing render — it is the exact file that will be used to produce a wax pattern or directly mill a mold, so precision matters.
You will typically receive one or more digital renders of the design from multiple angles: top, side, front, and sometimes a cross-section of settings or internal components. This is your chance to catch proportional issues before any physical material is used. Common adjustments at this stage include resizing stone settings, adjusting the thickness of a band for comfort, or shifting the position of a bail so a pendant hangs straight.
Do not treat CAD approval as a casual step. Once you sign off on the model, changes become much more time-consuming and costly, because they require reworking tooling or wax patterns that have already been produced. If you are unsure about a detail, ask for an additional render angle or a close-up of a specific section rather than guessing.
Step 3: Prototype Casting and Initial Assembly
After CAD approval, the OEM creates the first physical version of your piece. For most fine and fashion jewelry, this starts with a wax pattern printed from the CAD file, which is then used in a lost-wax casting process to create the metal base of the piece. Cast parts are then trimmed, polished, and prepped for stone setting, plating, or any surface treatments specified in the design.
This first physical prototype is rarely perfect on the first try. It is normal for small issues to show up only in physical form: a prong that feels sharper than it looked on screen, a chain that sits differently than expected, or a finish that looks lighter or darker in natural light than it did in a digital render. This is exactly why sampling exists — to catch those tactile, real-world issues before you order hundreds or thousands of units.
Step 4: Sample Finishing and Approval
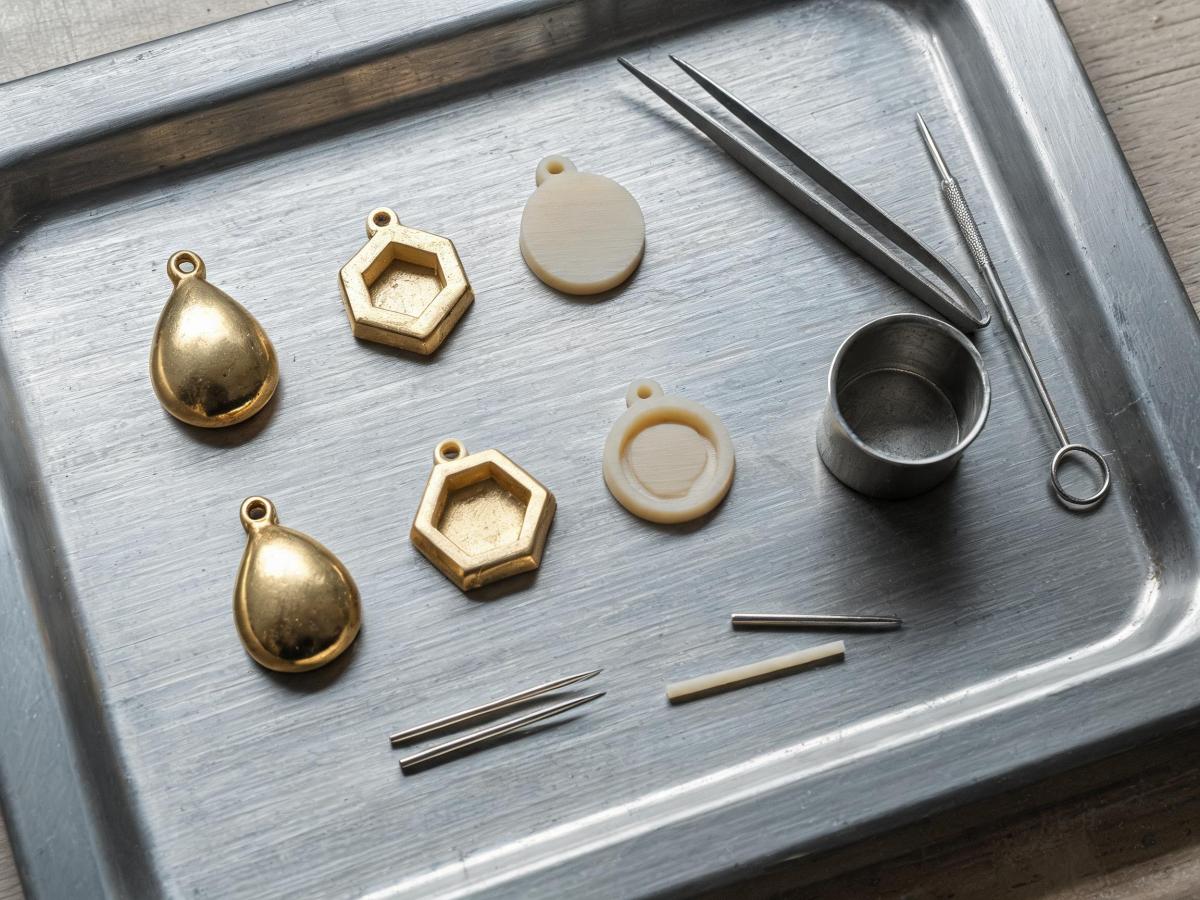
Once the prototype is adjusted to match the CAD and your feedback, the OEM produces a final sales sample with all specified finishes: full plating, stone setting, engraving, enamel, or any other surface details. This sample is intended to be identical to the units that will come off the production line, so you can evaluate wearability, weight, finish quality, and overall look in person.
When evaluating a final sample, check more than just visual appearance. Test the clasp to make sure it fastens securely, try on the piece to confirm weight and comfort, compare the stone color to any reference swatches you provided, and check that all engravings or logos match your artwork exactly. If you plan to sell the piece in multiple sizes or metal finishes, ask for samples of each variant before full production begins, even if it adds a small amount of time to the process.
Keep in mind that minor adjustments to the sample are normal and expected. A good OEM partner will walk through what changes are possible without altering the base tooling, and which changes would require going back to the CAD or casting stage. Being specific about what you want changed — for example, “make the second prong from the left 0.5mm shorter” instead of “the prongs look off” — will speed up revisions and reduce back-and-forth.
At the end of the sampling process, you will have a physical piece that serves as the reference standard for your entire production run. Taking the time to get this step right — rather than rushing to mass production to save a few days — is the single most effective way to avoid unexpected quality issues, costly reworks, or disappointed customers down the line. When both you and your OEM partner are aligned on every detail of the approved sample, your full order will run far more smoothly, and the final product will match the vision you started with on that first sketch.
Images are for illustration only.